Microneedling guide
How to use your derma stamp with confidence at home
If you've been curious about microneedling at home but still feel unsure about the technique, you're not alone. Most people can find a tool. The part that gets confusing is how hard to press, how to move across the skin, and what to do afterward so your skin calms down well.
If you’re brand new to this, it helps to first understand what a derma stamp is and what it does, then come back here for the technique.
This guide walks you through the process step by step in plain English. I'll cover how to prep your skin, how to stamp evenly without overdoing it, how to adjust your routine for different goals, and what to use right after to keep skin hydrated and comfortable. If you want the bigger-picture version first, start with our complete microneedling at-home guide.

Before you start stamping
Start with clean skin, clean hands, and a freshly sanitized tool. To sanitize: dip the needle head only in rubbing alcohol for 5–10 minutes, then air dry. Do not submerge the handle.
Keep the rest of your setup simple: a gentle cleanser, good lighting, a clean towel, and enough time that you're not rushing. Rushed microneedling is where technique starts to slip.
Next, choose your needle depth based on what you're trying to improve.
| Goal | Typical depth range | General rhythm |
|---|---|---|
| Beginner use / product absorption | 0.25–0.5 mm | About weekly |
| Texture / fine lines | 0.5–1.0 mm | Every couple of weeks |
| Acne scars | 1.0–1.5 mm | Every 3–4+ weeks |
| Thicker areas of the body | 1.5 mm+ | With longer recovery time |
How to hold the stamp and how much pressure to use
This is the part most tutorials skip over. It's one of the biggest reasons people either irritate their skin or feel let down by their results. The setting on the tool matters, but so does how you press.
Hold your stamp like a pencil, not like you're forcing it into the skin. The goal is a straight, controlled press and release.
How deep are you actually going?
The number on the tool is only part of the story. Your actual treatment depth depends on the needle setting, the thickness of the area you're treating, and how firmly you press.
That's why two people can use the same setting and have very different experiences. If you stay controlled and consistent, you'll usually get better long-term results than if you go too deep, too fast, and end up irritated for days.
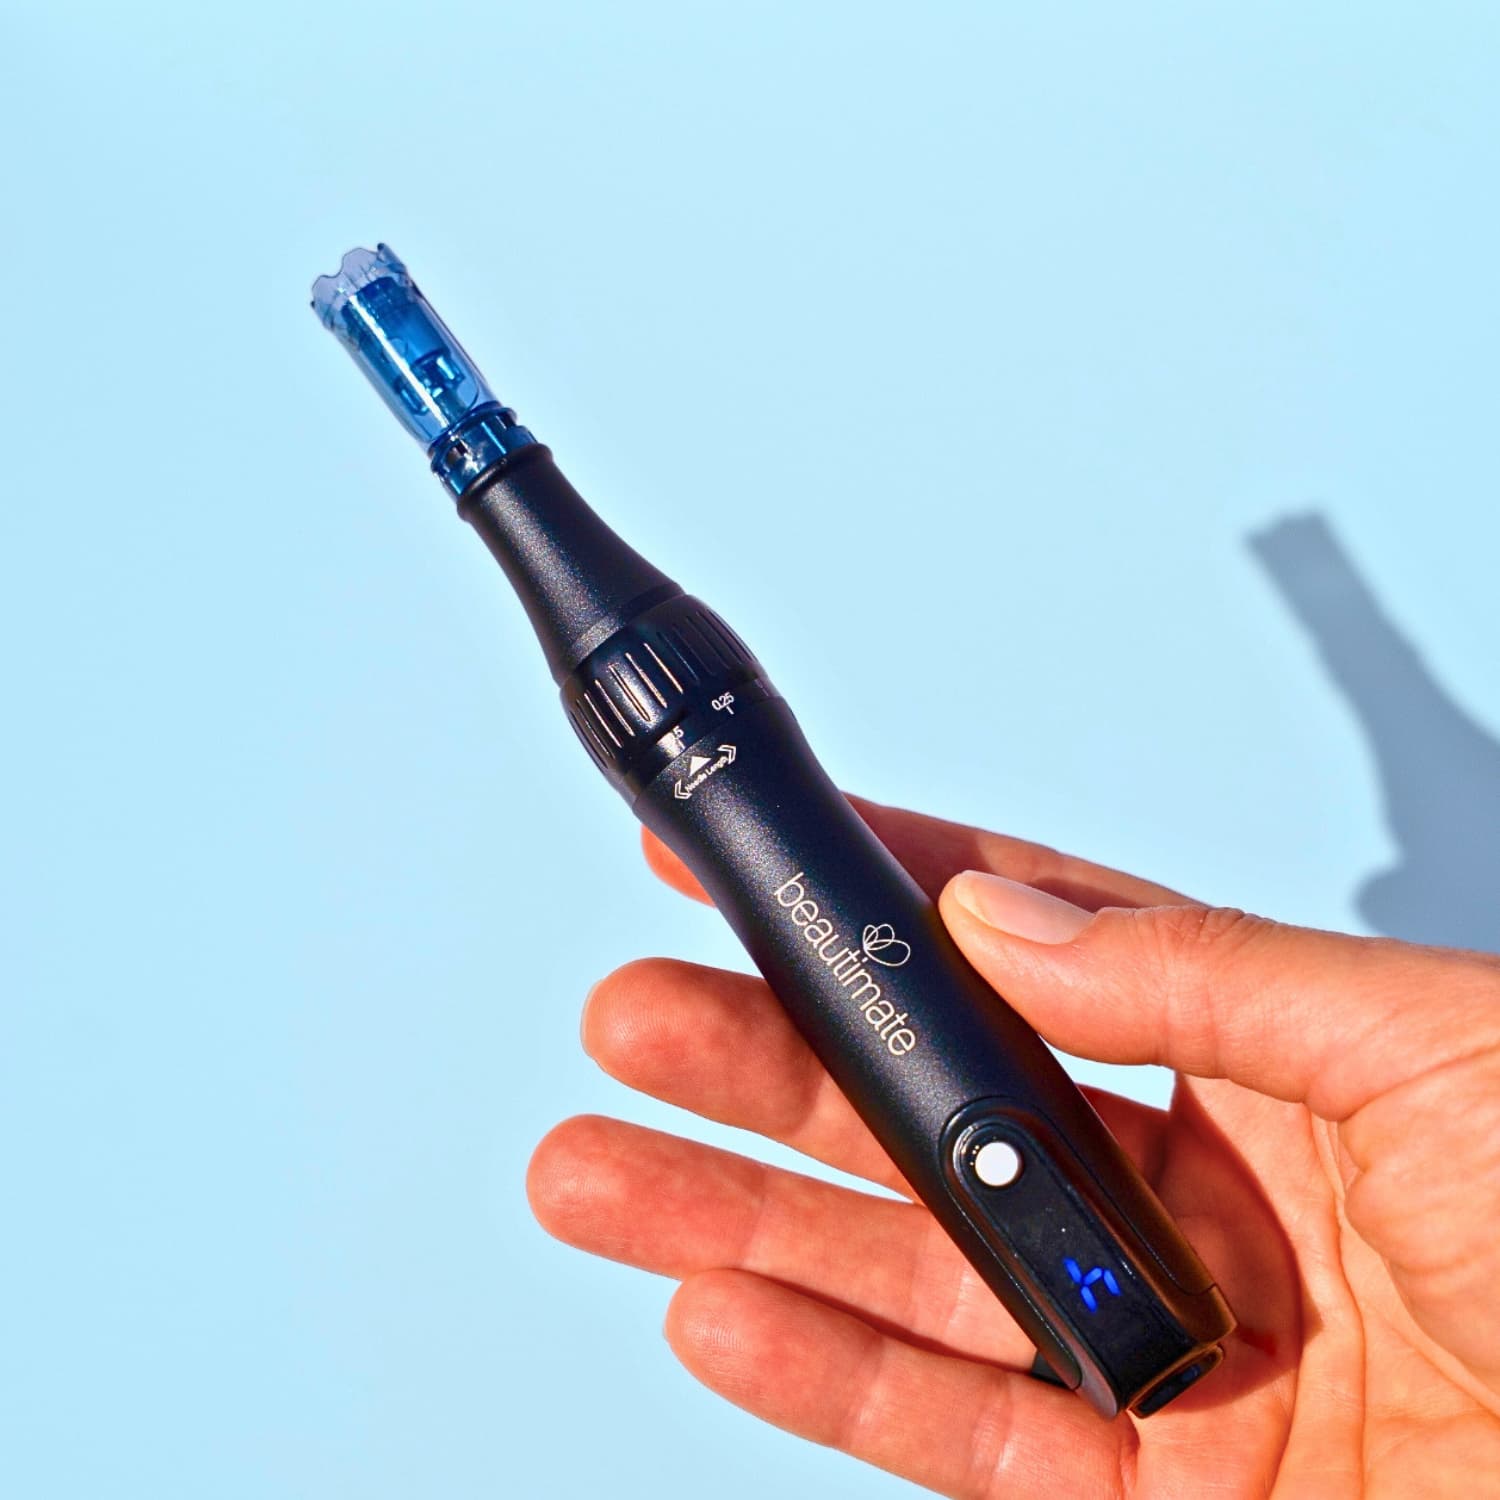
If you’d rather not manage pressure and depth by hand, an at-home microneedling pen standardizes both automatically.
How to stamp evenly across the face
The easiest way to keep things even is to divide the face into zones: forehead, each cheek, nose, chin, and jawline. Work one area at a time. That way you won't lose track or go over the same spot twice.
- Place the stamp flat against the skin.
- Press straight down once.
- Lift fully off the skin.
- Move slightly to the next spot.
- Repeat in a simple grid until the area is covered.

Around curved areas like the jawline, corners of the mouth, or hairline, go slower. Make sure the head of the stamp stays flush with the skin. If you're deciding between tools, you can also read our derma stamp vs. derma roller guide.
How to tweak your routine for different goals
Your routine should look a little different depending on your focus. Whether you're smoothing texture, softening fine lines, fading acne scars, or working on the scalp or body — here's a simple guide.
| Concern | Best approach |
|---|---|
| Fine lines and early texture | Keep coverage even, stay conservative, and focus on consistency. |
| Acne scars | Work carefully over textured areas, not over active breakouts. |
| Dark marks or uneven tone | Stay gentle and prioritize calming aftercare plus daily sunscreen. |
| Hairline or scalp use | Use a separate scalp protocol and consistent spacing between sessions. |
| Body concerns | Expect slower recovery and be more patient with timing. |
Using your derma stamp on acne scars
Acne scars are one of the most common reasons people reach for a stamp. The key is patience. More pressure or more frequent sessions usually doesn't help.
A better approach: controlled technique, good spacing between sessions, and realistic expectations. If your skin is inflamed, actively breaking out, or healing from a recent treatment, wait.
What to do right after stamping
Right after a session, keep it simple: hydration, calm ingredients, and no strong actives.

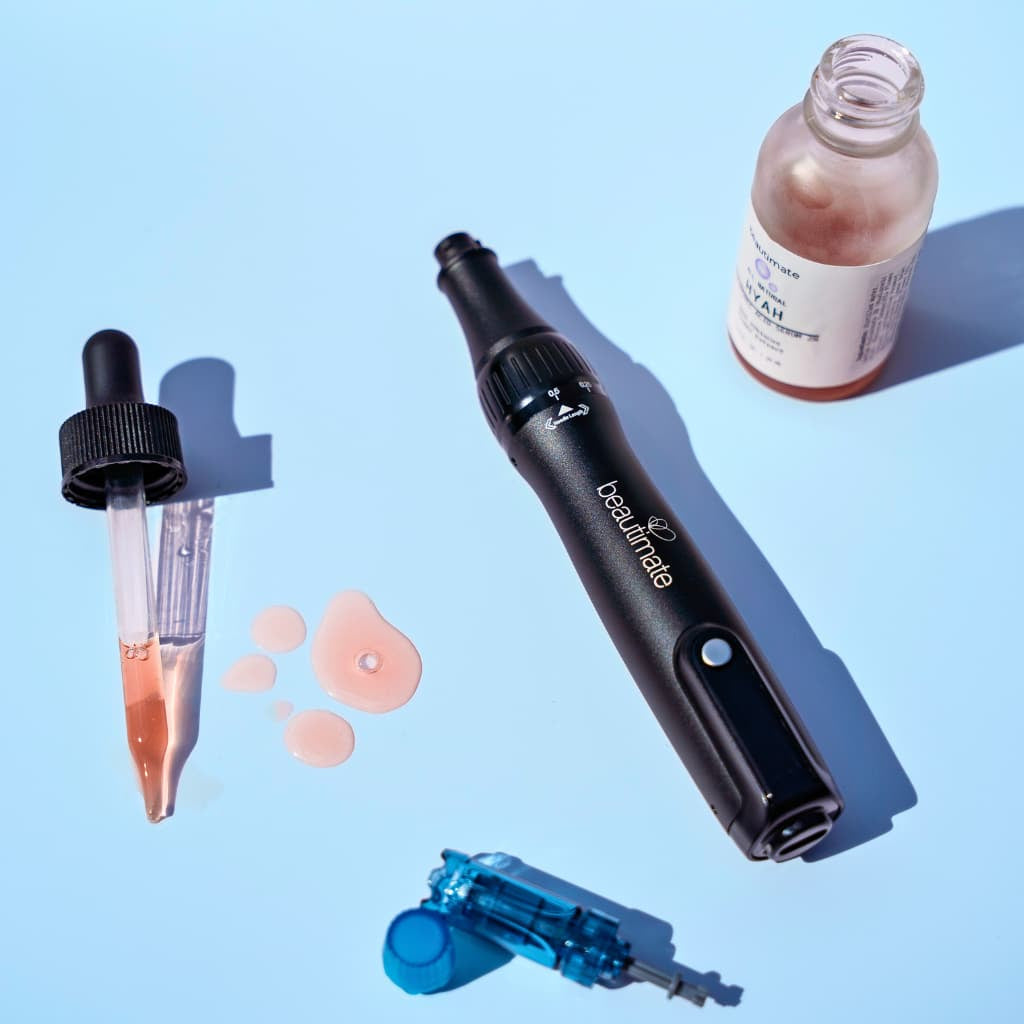
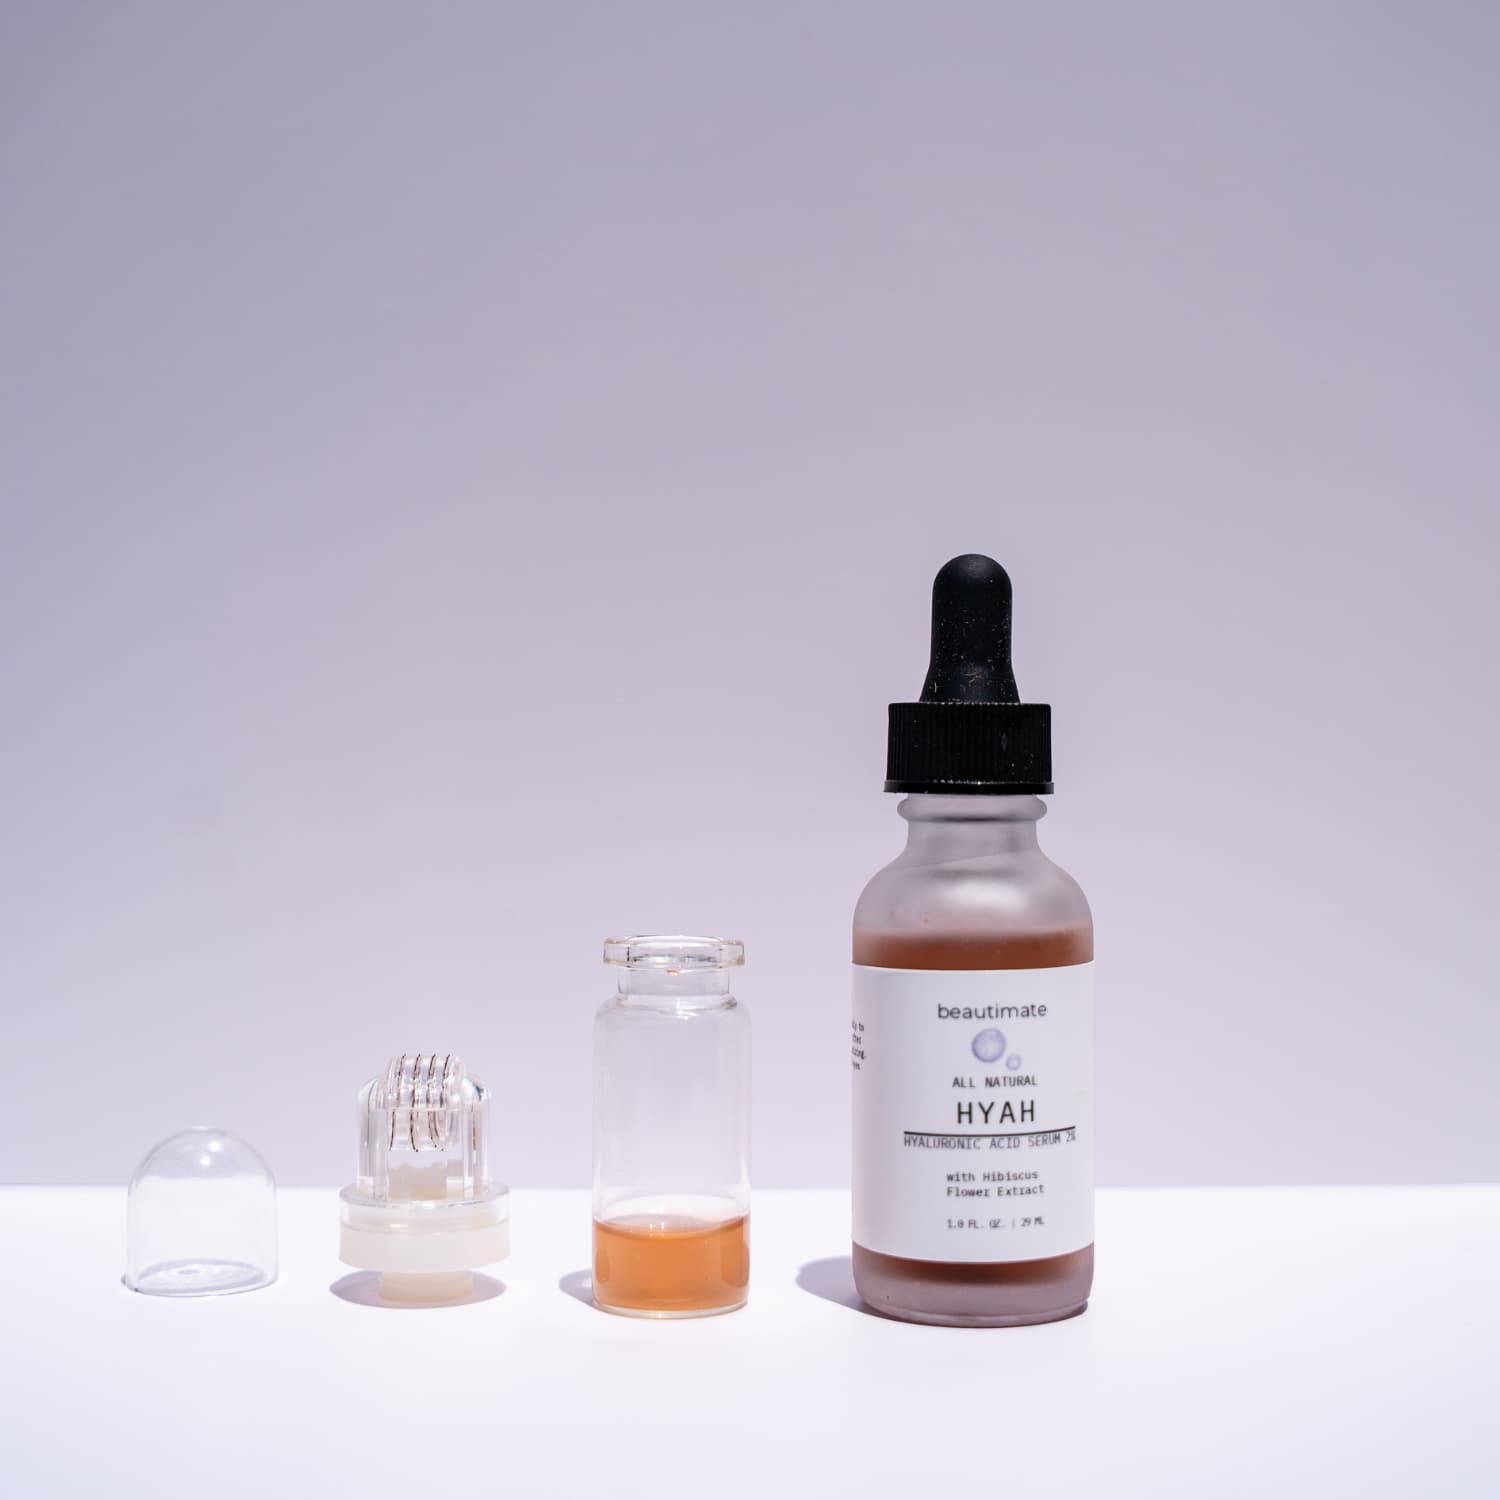
Apply HYAH Serum right after stamping, or check out our full guide on what to use after microneedling.
What the first hour, first day, and first week should look like
In the first hour: hydration and clean hands off your face. In the first 24 hours: avoid heavy workouts, direct sun, exfoliating acids, and retinoids. Skip anything that makes your skin sting.
Over the next few days, stay gentle. Reapply hydrating products as needed. Use sunscreen daily. Let your skin settle before going back to a more active routine.
When to stamp again
- 0.25–0.5 mm: around once a week.
- 1.0 mm and above: every 3–4 weeks or longer.
- If your skin still feels irritated, tight, or visibly inflamed, wait longer.
Common mistakes to avoid
- Dragging the tool instead of pressing straight down.
- Pressing too hard — more intensity does not mean better results.
- Stamping over active acne, irritation, or compromised skin.
- Using strong acids or retinoids too soon after a session.
- Repeating treatments before the skin has fully calmed down.
- Overcomplicating aftercare — a simple hydrating routine is smarter.
FAQ
Does a derma stamp hurt?
It depends on the setting and the area. For most people it feels more prickly than painful when depth and pressure are kept appropriate.
How often should I use it?
Weekly for shallow settings. Every few weeks for deeper ones, depending on how your skin responds.
What should I use after?
A simple hydrating serum and gentle moisturizer. Keep it calm.
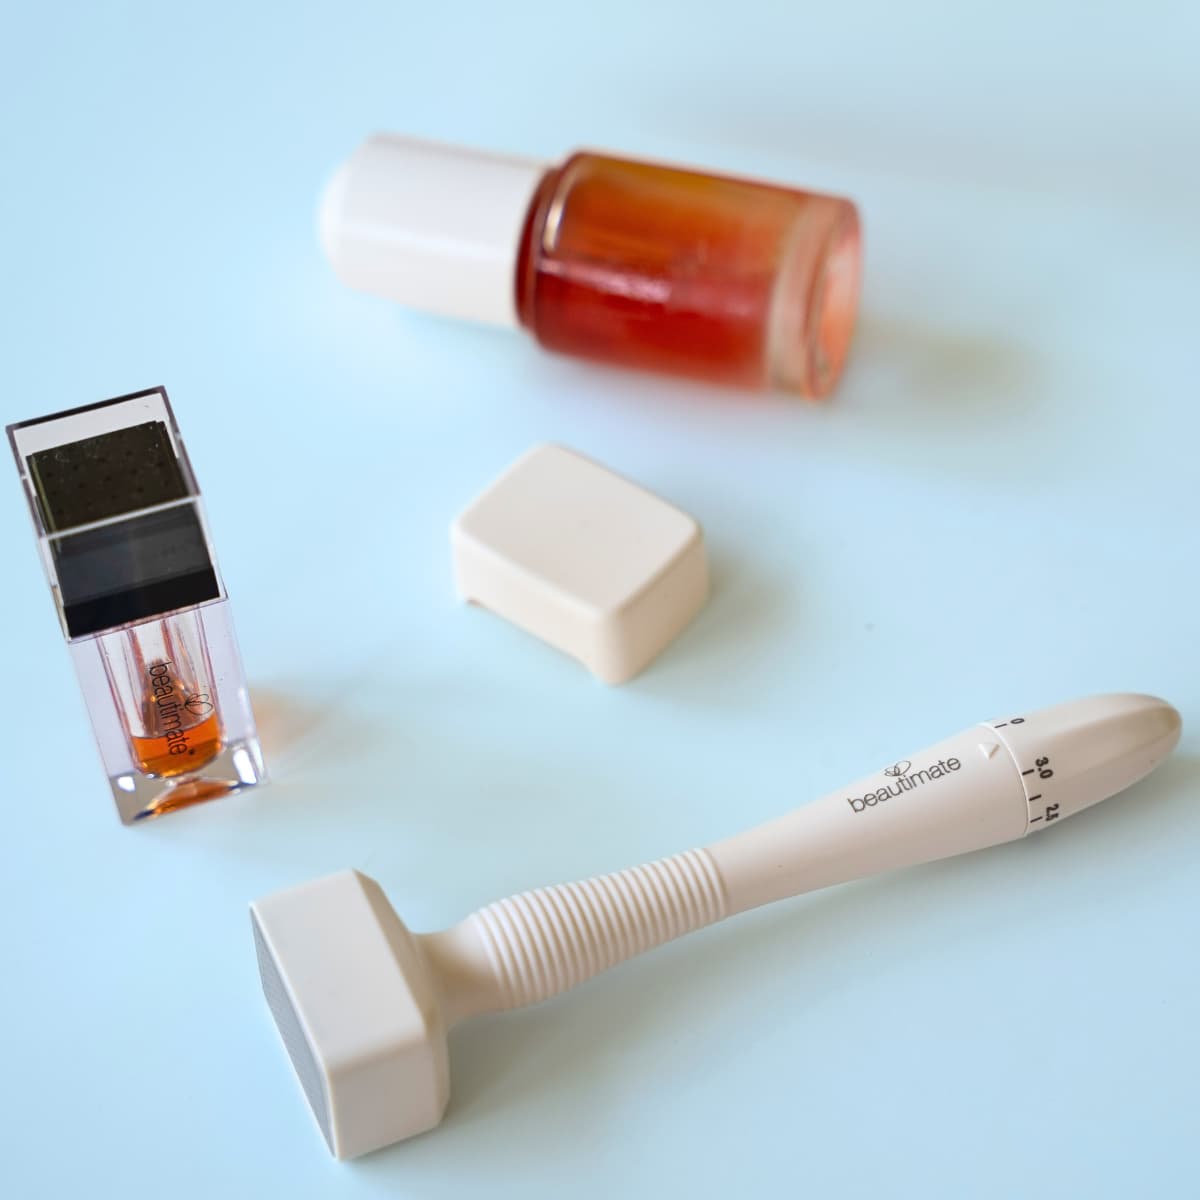
What products make the easiest starter routine?
The Adjustable Derma Stamp plus HYAH Serum, or the bundle if you want both together.