beautimate Blog | Skincare Tips, Tools & Beauty Secrets

How to Use a Microneedling Pen at Home (Step-by-Step Guide)
How to use an at-home microneedling pen the right way. A step-by-step guide to setup, needle depth, technique, safety precautions, and aftercare so you get consistent results with less irritation.
Learn more
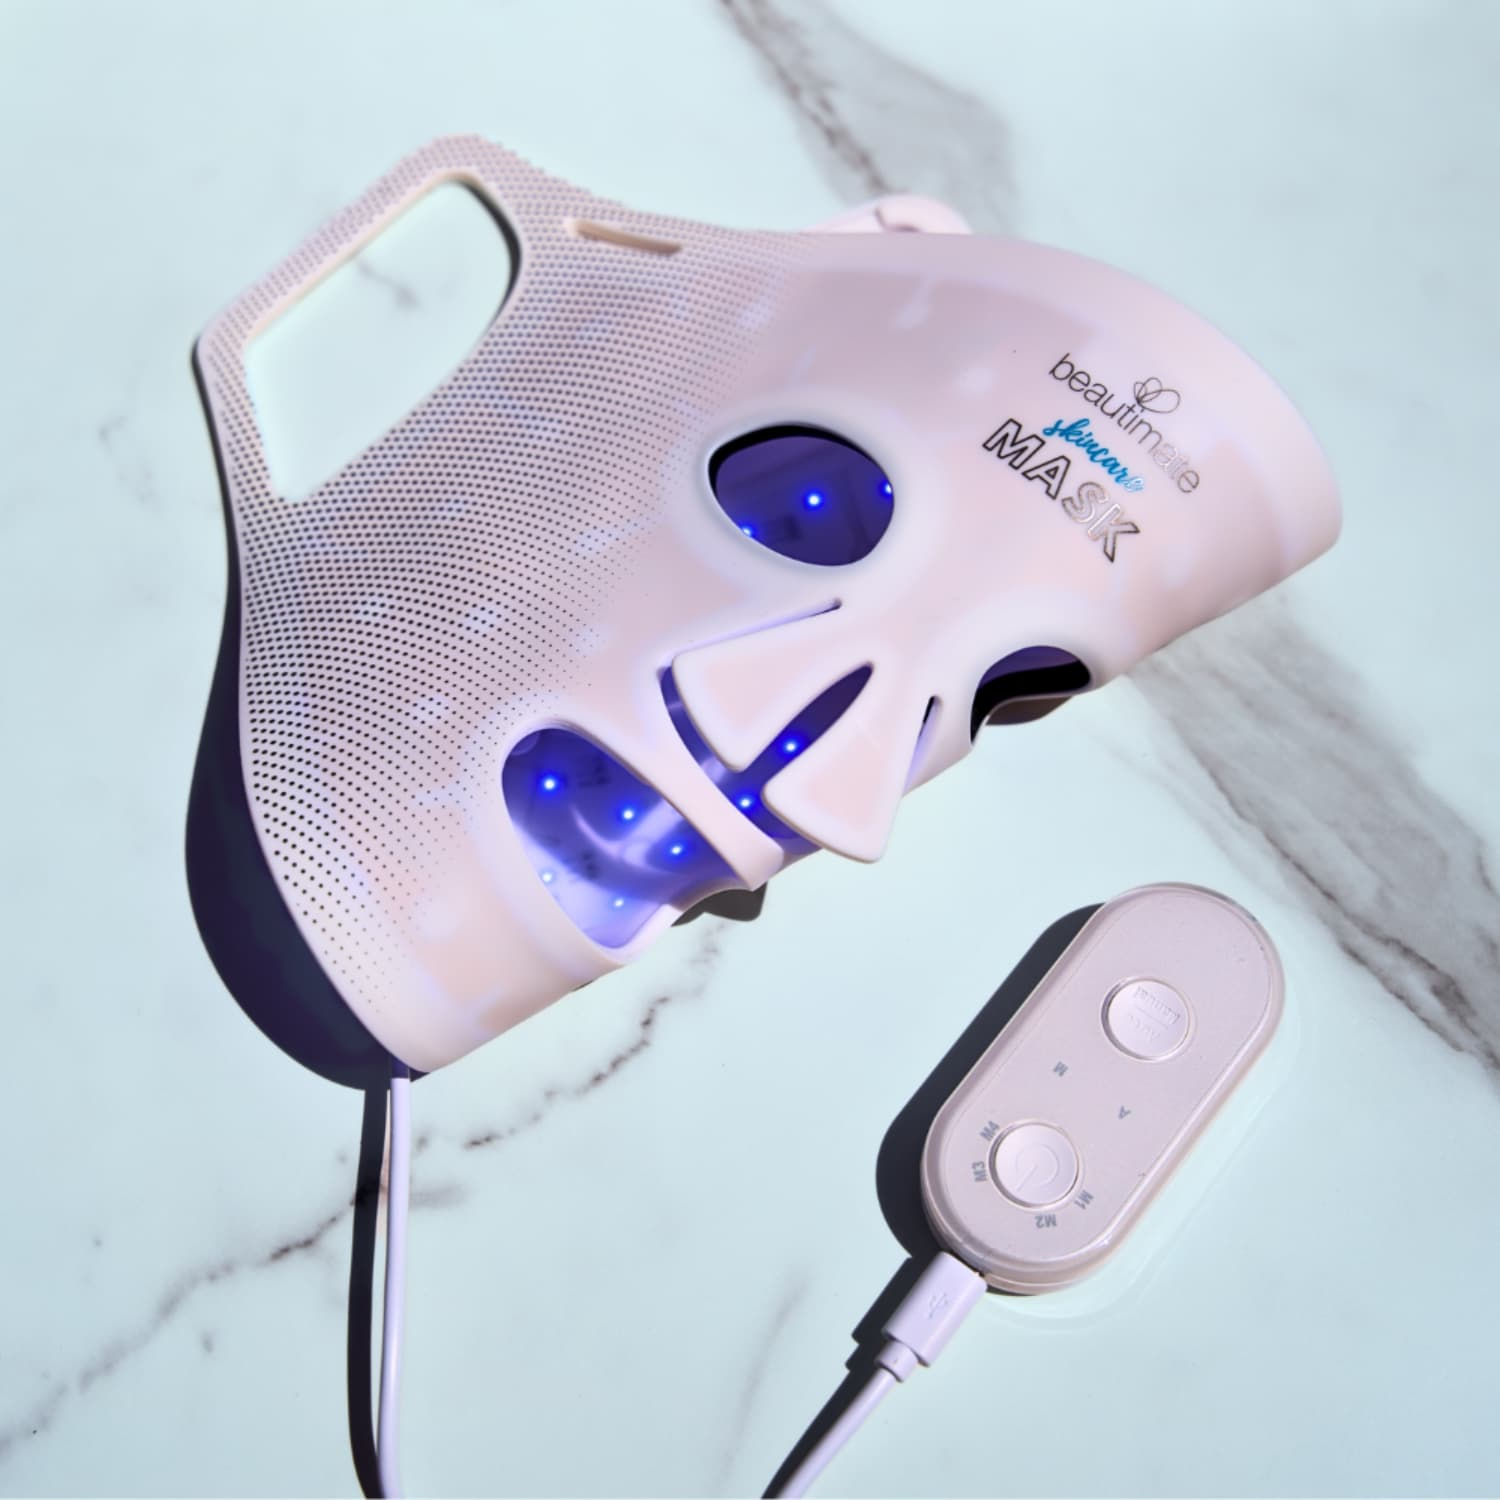
Comparing Popular LED Face Masks: What Actually Matters?
A no-hype comparison of Beautimate, Omnilux, CurrentBody and Dr. Dennis Gross LED face masks. Wavelengths, LED count, FDA clearance, and what to ignore.
Learn more
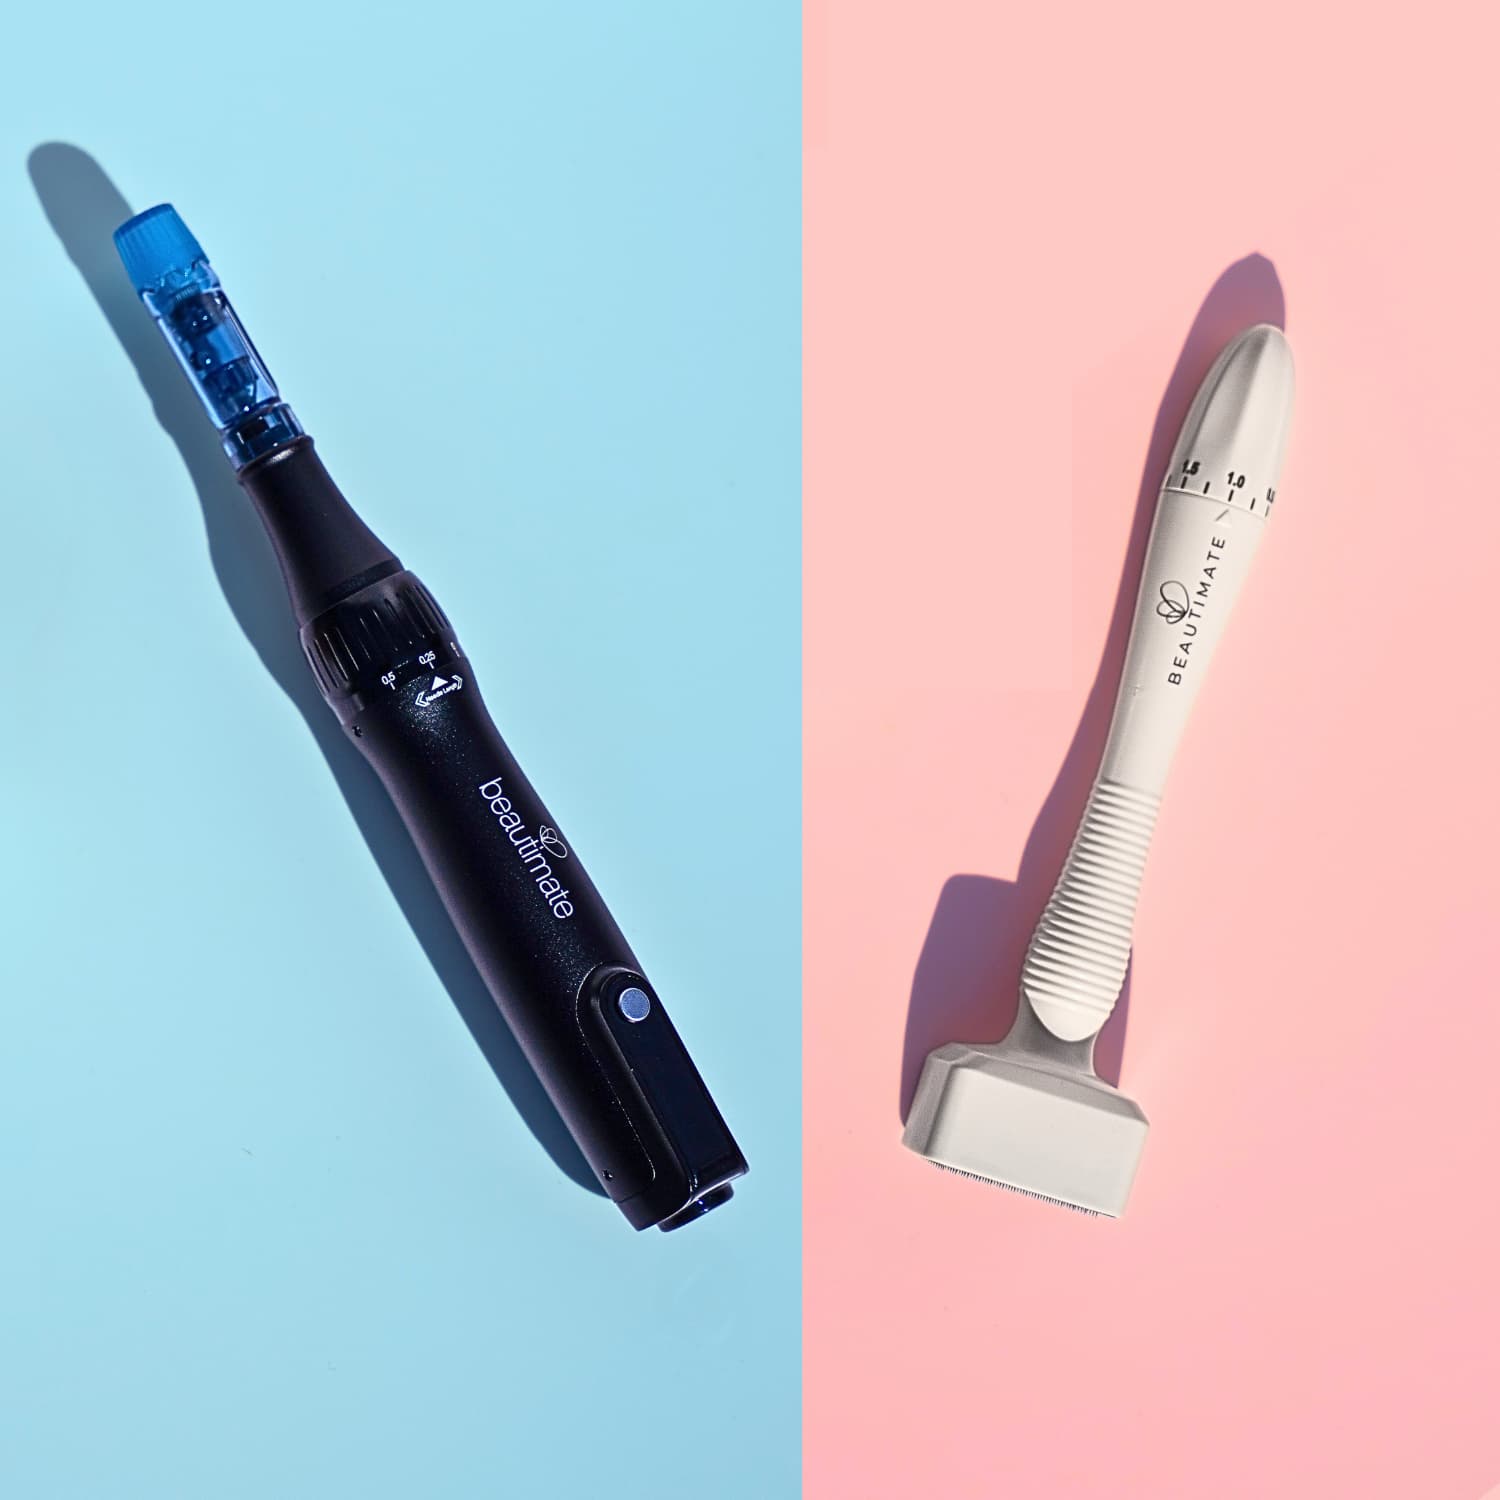
What Is a Derma Stamp? Complete Beginner's Guide (Benefits, Needle Sizes & How to Choose)
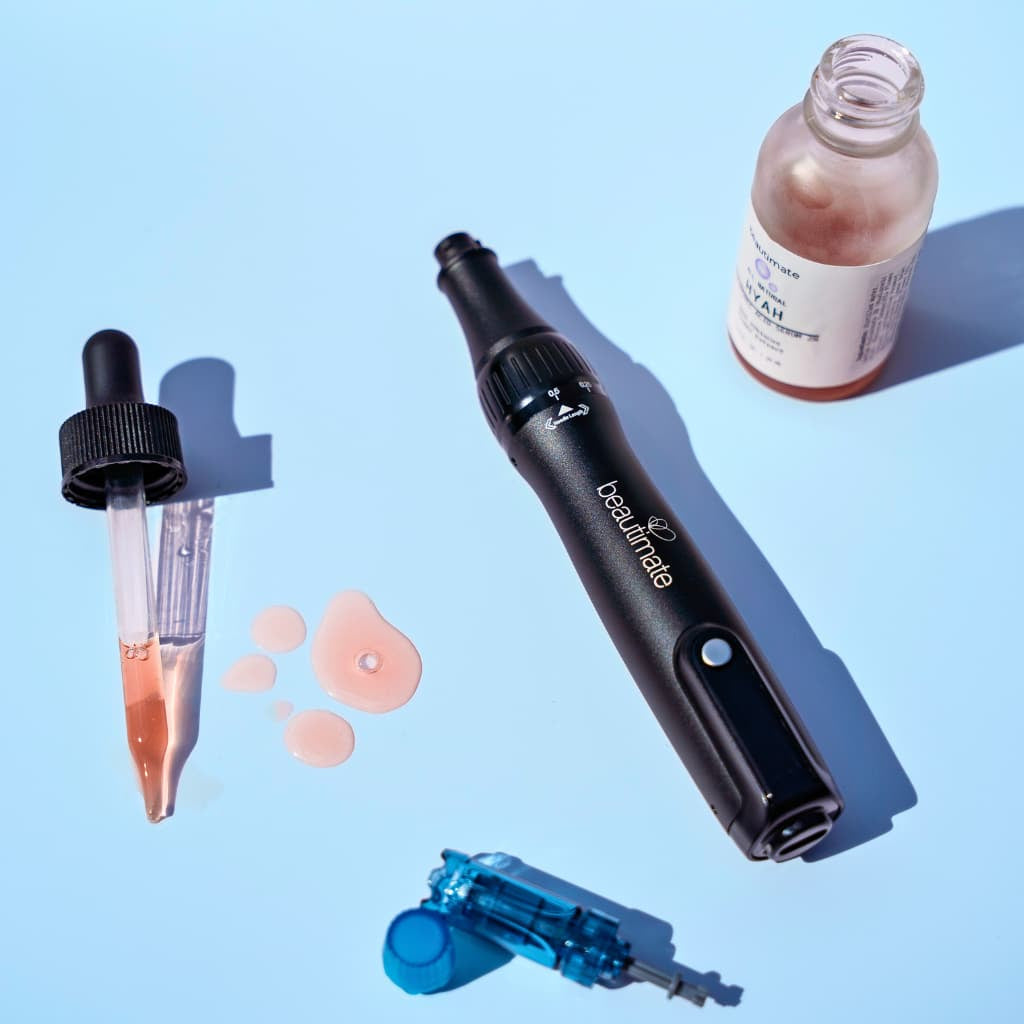
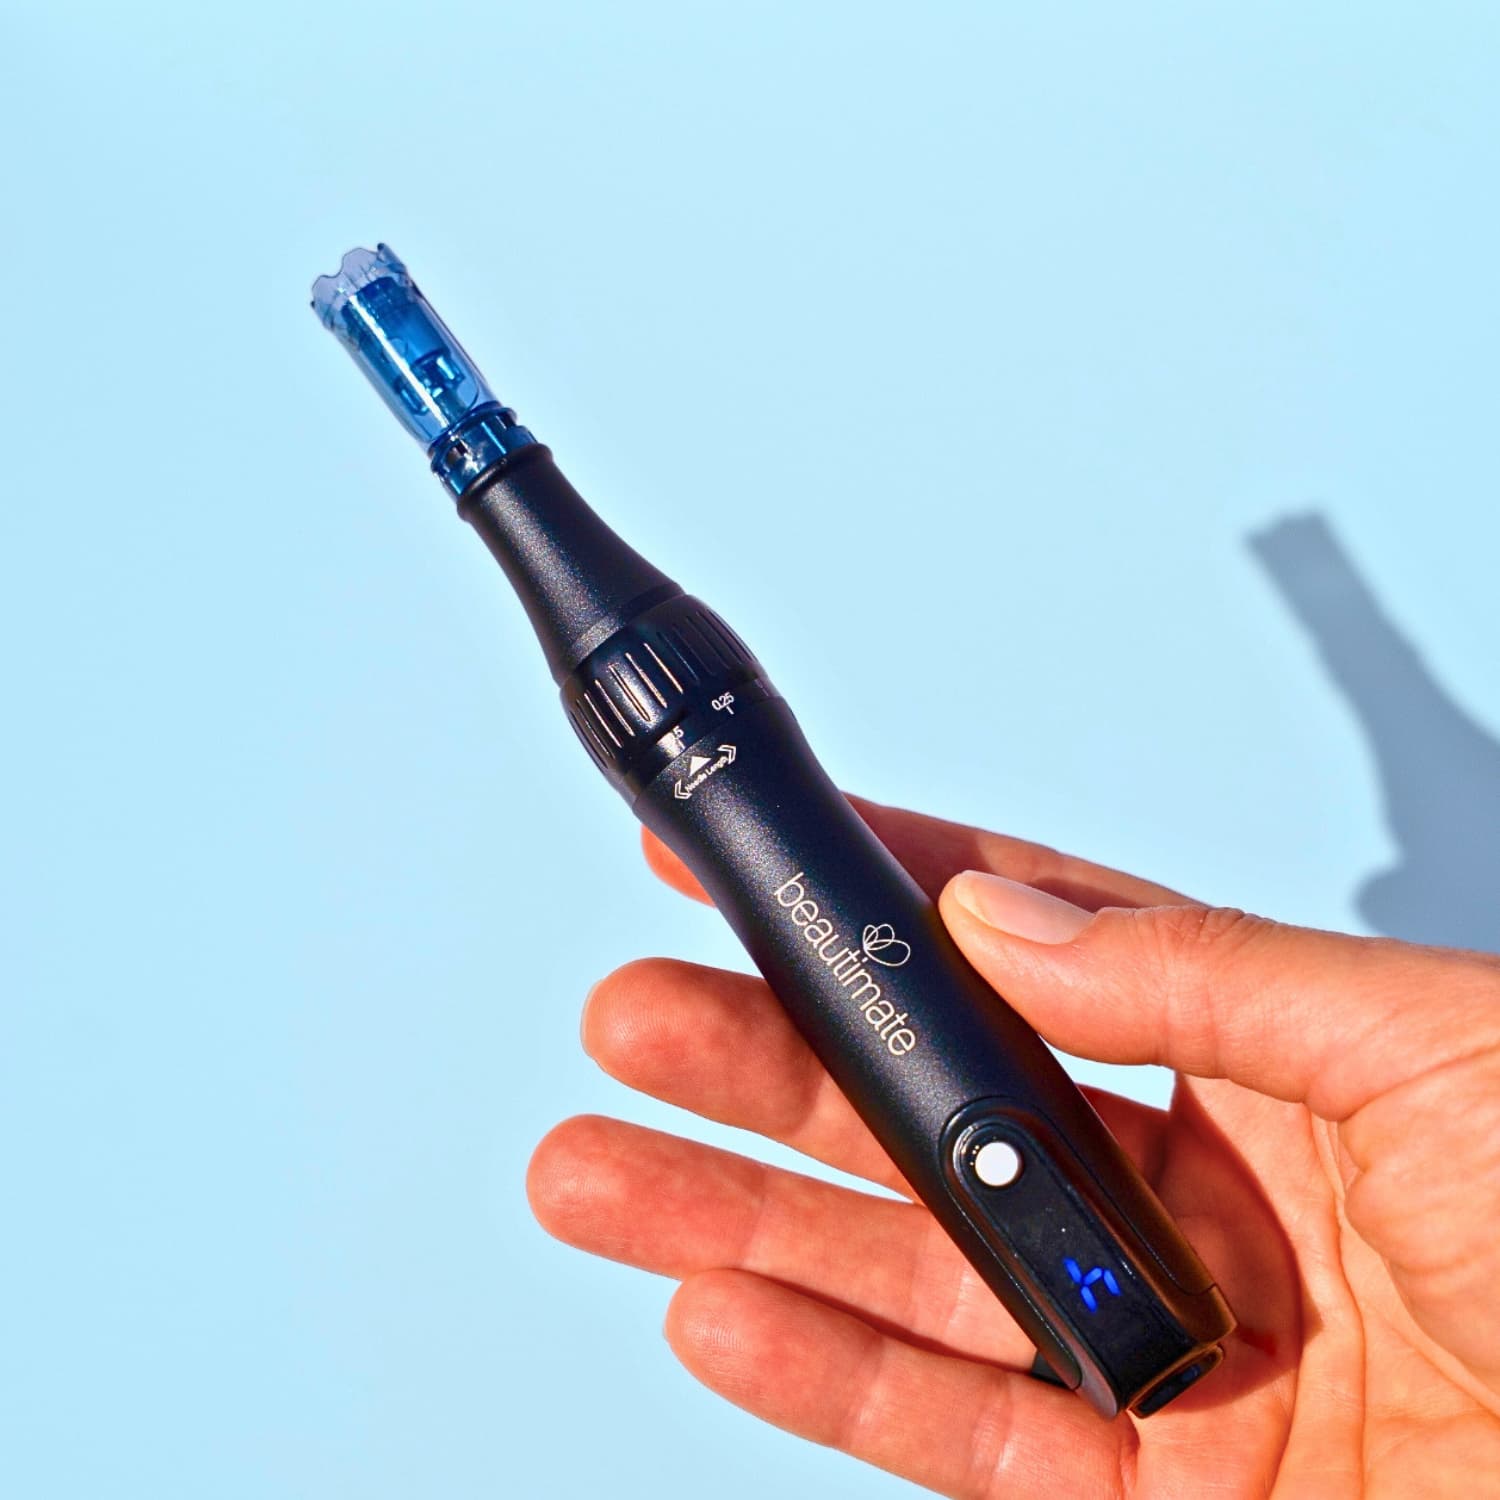
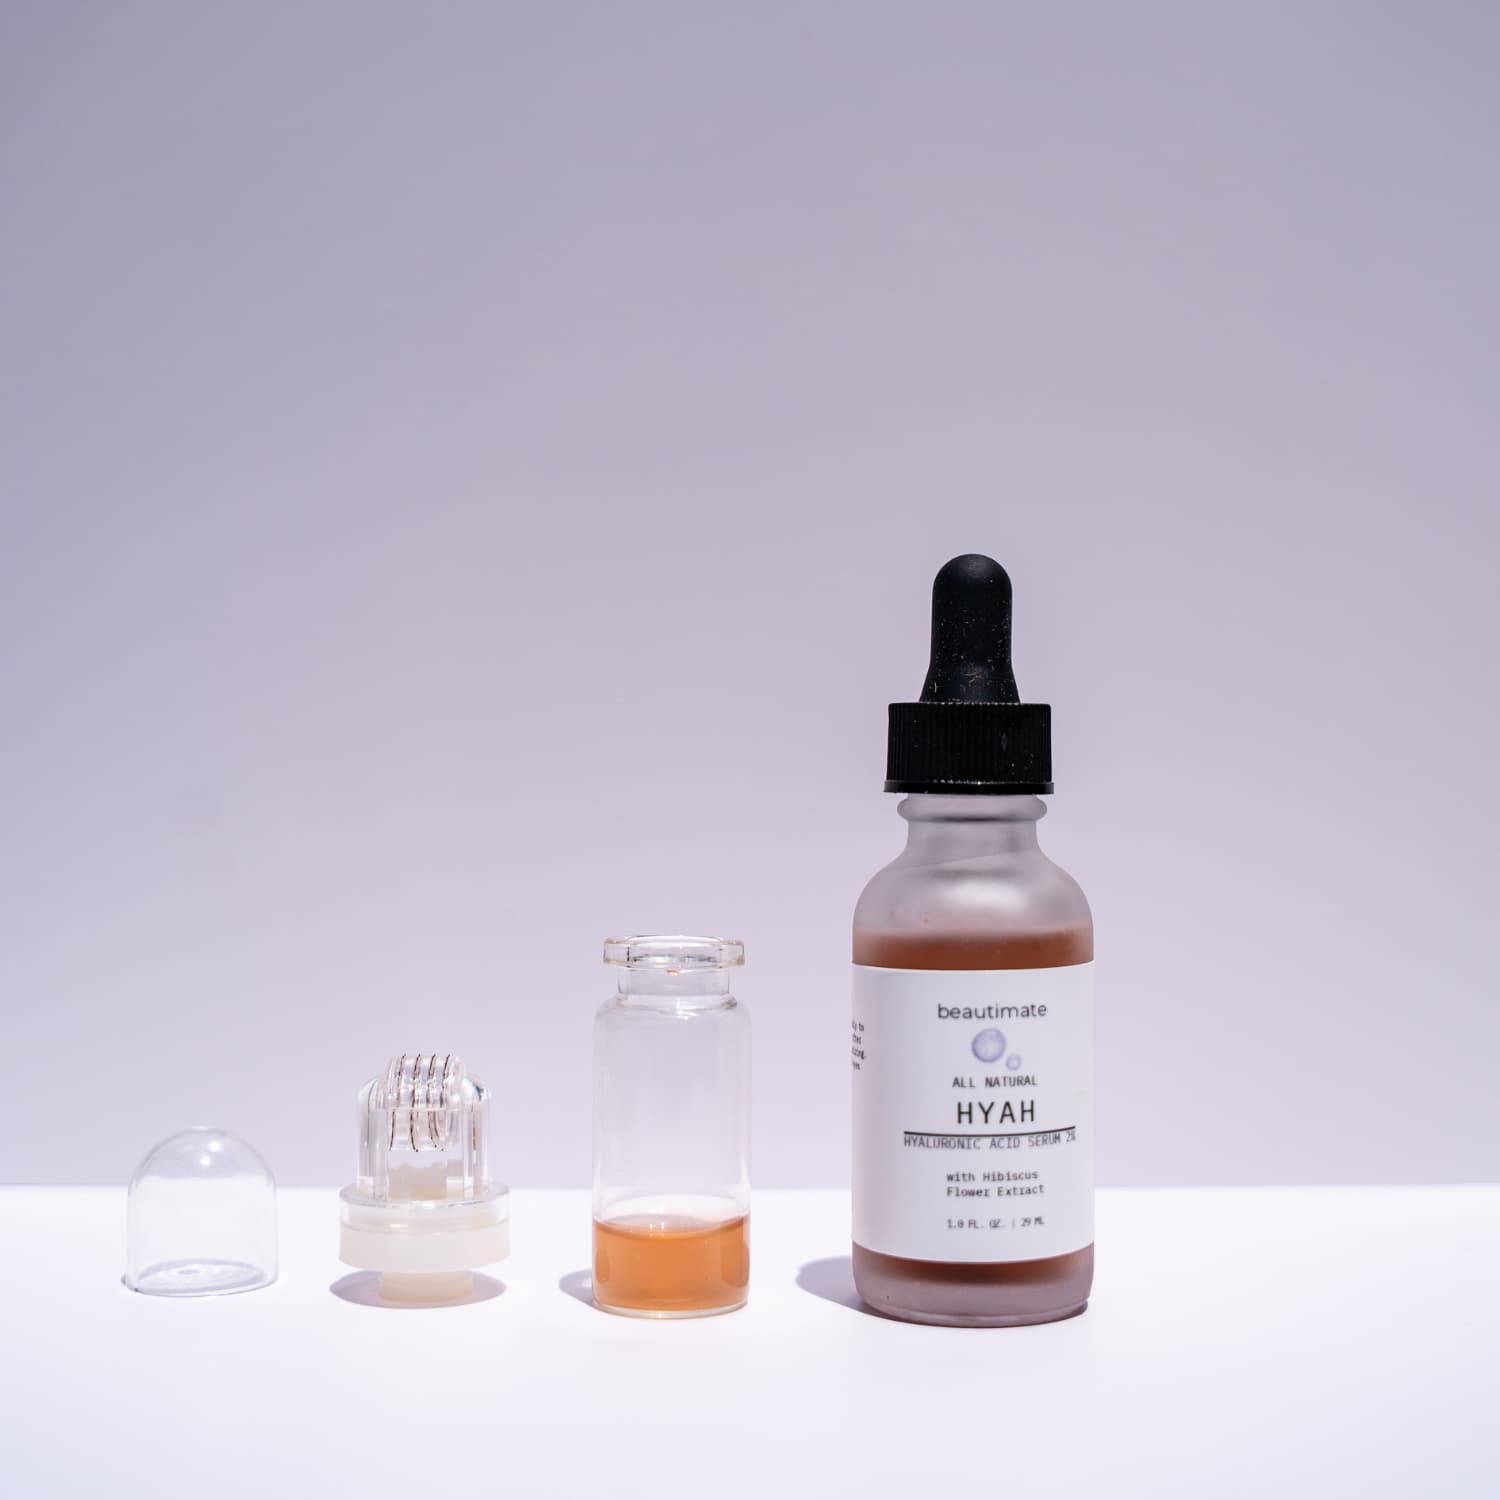
A derma stamp is a handheld microneedling tool with a flat, stamp-shaped head of fine, vertical needles that you press straight down onto the skin to create micro-channels. Unlike a derma roller — which you roll across the skin — a stamp presses straight down, for cleaner micro-channels, less skin pulling, and more precise control on areas like the hairline, under-eyes, and isolated scars. Those tiny channels trigger your skin's natural repair response — boosting collagen and elastin — and temporarily let serums absorb far more effectively. Last updated: June 2026 If you've been researching at-home microneedling, you've probably run into the term "derma stamp" — and wondered what it actually is, how it's different from a derma roller, and whether it's safe to use on your face. This guide answers all of that in plain language, so you can decide if a derma stamp is right for your skin and pick the correct needle size with confidence. Shop the Adjustable Derma Stamp → What a derma stamp actually does Microneedling works through a process called collagen induction therapy. When fine needles create controlled micro-injuries in the skin, the body responds by producing new collagen and elastin — the structural proteins that keep skin firm, smooth, and elastic (StatPearls, NIH). A 2018 clinical study in the Journal of Clinical and Aesthetic Dermatology found that a series of microneedling sessions produced statistically significant improvements in facial wrinkles, skin laxity, and texture, with minimal downtime and well-tolerated side effects (JCAD, 2018). A derma stamp does this the same way a professional microneedling pen does, just in a simple, manual format you control by hand. Because you stamp straight down rather than dragging, it tends to be gentler and more precise than a rolling device — which is exactly why a lot of people choose it for the face. Common reasons people use a derma stamp Fine lines and early wrinkles — collagen stimulation helps soften them over time Acne scars and uneven texture — one of microneedling's most studied uses Enlarged pores and dull skin — improved cell turnover and a smoother surface Better serum absorption — micro-channels let actives penetrate deeper (more on this below) Targeted spots — the stamp shape makes it easy to treat small, specific areas a roller can't Derma stamp vs. derma roller: what's the difference? This is the question we get most, so here's the short version. A derma roller has needles on a rotating wheel that you roll across the skin. A derma stamp has needles on a flat head you press straight down. Derma stamp Derma roller Motion Press straight down Roll across skin Needle entry Vertical, clean Angled (can tear slightly) Precision High — great for targeted areas Lower — better for large areas Best for Face, scars, spot-treatment Scalp, body, broad zones The stamp's vertical entry is generally considered gentler on the skin because the needles go in and come out at the same angle, rather than dragging. For a full breakdown, see our complete guide: Derma Stamp vs. Derma Roller: Which Is Better? Wondering how a stamp compares to a motorized pen instead? That is a different trade-off — manual control versus motor-driven consistency. We break it down in Microneedling Pen vs. Derma Stamp: Which Is Right for You? What needle size (depth) should you use? Needle length is the single most important choice you'll make, and it depends on where you're treating and what you're targeting. An adjustable derma stamp lets you dial the depth in, so you don't need to buy multiple tools. Needle depth Best for Frequency 0.25 mm Daily serum absorption, very gentle, all skin Up to daily 0.5 mm Fine lines, pores, dull skin on the face Every 1–2 weeks 1.0 mm Deeper texture concerns, mild scarring Every 2–4 weeks 1.5 mm+ Body, scalp, deeper scarring (advanced) Every 4–6 weeks For most people starting on the face, 0.5 mm is the sweet spot — effective enough to stimulate collagen, but conservative enough to keep downtime minimal. Start shallow, see how your skin responds, and only go deeper as you gain experience. For a deeper look at choosing between depths, see our Derma Stamp Size Guide: 0.5mm vs 1.0mm vs 1.5mm. If you want an adjustable tool that covers the full range, our Adjustable Derma Stamp lets you set the depth from 0.25 mm to 3.0 mm. Can you use a derma stamp on your face? Yes — the face is one of the most common places people use a derma stamp, and the stamp's precise, vertical motion makes it well suited to facial contours like around the nose, mouth, and forehead. The keys to using it safely on the face: Keep the depth conservative (0.25–0.5 mm for most facial use). Always start with clean, disinfected skin and a sterile needle head. Avoid active breakouts, irritated skin, eczema, or rosacea flare-ups. Don't overdo frequency — give skin time to heal between sessions. For a complete step-by-step walkthrough, read our How to Use a Derma Stamp tutorial. What to apply after derma stamping This is where a derma stamp really earns its place in a routine. Immediately after microneedling, those micro-channels dramatically increase how well your skin absorbs whatever you apply next — so what you put on matters. Right after a session, reach for gentle, hydrating, barrier-supporting ingredients: hyaluronic acid, peptides, and recovery serums. Avoid actives that can sting or irritate freshly stamped skin — high-concentration vitamin C, retinol, AHAs/BHAs, and fragranced products — for at least 24 hours. Our Hyah Serum was formulated specifically for post-microneedling use. For the full breakdown of what to apply (and when), see What Serum to Use After Microneedling. How to choose the best derma stamp When you're comparing options, look for: Adjustable depth — one tool that covers 0.25–1.5 mm+ is far more versatile (and economical) than fixed-depth stamps High-quality needles — surgical-grade stainless steel or titanium that won't bend or dull Replaceable heads — needles dull with use; replaceable heads keep treatments effective and hygienic A trusted brand with clear instructions — microneedling is safe when done correctly, so guidance matters Beautimate's Adjustable Derma Stamp checks all of these boxes, with adjustable depth and surgical-grade needles designed for at-home use. Shop the Adjustable Derma Stamp → Is derma stamping safe? Used correctly, at-home derma stamping at conservative depths is widely considered safe for most healthy skin. Microneedling has been studied extensively for scarring, hair loss, and skin rejuvenation, with a strong safety profile when proper hygiene and depth are observed. A 2021 literature review of percutaneous collagen induction therapy concluded it is a promising, minimally invasive option for treating scars and photoaged skin, stimulating collagen deposition without the pigmentation risks associated with lasers and peels (Aesthetic Plastic Surgery, 2021). That said, skip derma stamping if you have active acne or infections, eczema or psoriasis in the treatment area, a history of keloid scarring, or if you're pregnant — and check with a dermatologist if you're unsure. Always sterilize your tool before and after, and never share heads. Frequently asked questions Does a derma stamp hurt? At shallow depths (0.25–0.5 mm), most people feel only light prickling. Deeper settings can be more uncomfortable; a numbing cream is sometimes used for deeper, longer sessions. How often should I use a derma stamp? It depends on depth. Very shallow (0.25 mm) can be used up to daily; 0.5 mm every 1–2 weeks; deeper settings need more recovery time (every 2–6 weeks). Always let skin fully heal between sessions. How long until I see results? Some glow and serum-absorption benefits are immediate, but collagen-driven changes (texture, fine lines, scars) build over weeks to months of consistent, properly spaced sessions. Derma stamp or derma roller — which should a beginner buy? For facial use and targeted treatment, beginners often prefer a derma stamp for its precision and gentler vertical entry. See our full derma stamp vs. derma roller comparison. Can I use a derma stamp for hair growth? Yes — microneedling the scalp is a studied approach for stimulating hair follicles, often paired with rosemary oil. See our guide on microneedling for hair growth. What needle size is best for the face? 0.5 mm is the most common starting point for facial concerns like fine lines and pores. Start shallow and increase only as your skin adapts. Ready to start? A derma stamp is one of the simplest, most precise ways to bring professional-style microneedling into your at-home routine. Choose an adjustable, high-quality tool, start conservative, and give your skin time to respond. Shop the Adjustable Derma Stamp →
Learn more
Derma Stamp for Hair Growth: What Depth to Use, What to Apply, and How to Do It Right
Learn how to use a derma stamp for hair growth — the right needle depth for scalp, what to apply after (rosemary oil vs castor oil), and how to build a simple weekly routine.
Learn more
Derma Stamp Size Guide: 0.5mm vs 1.0mm vs 1.5mm (and How to Choose)
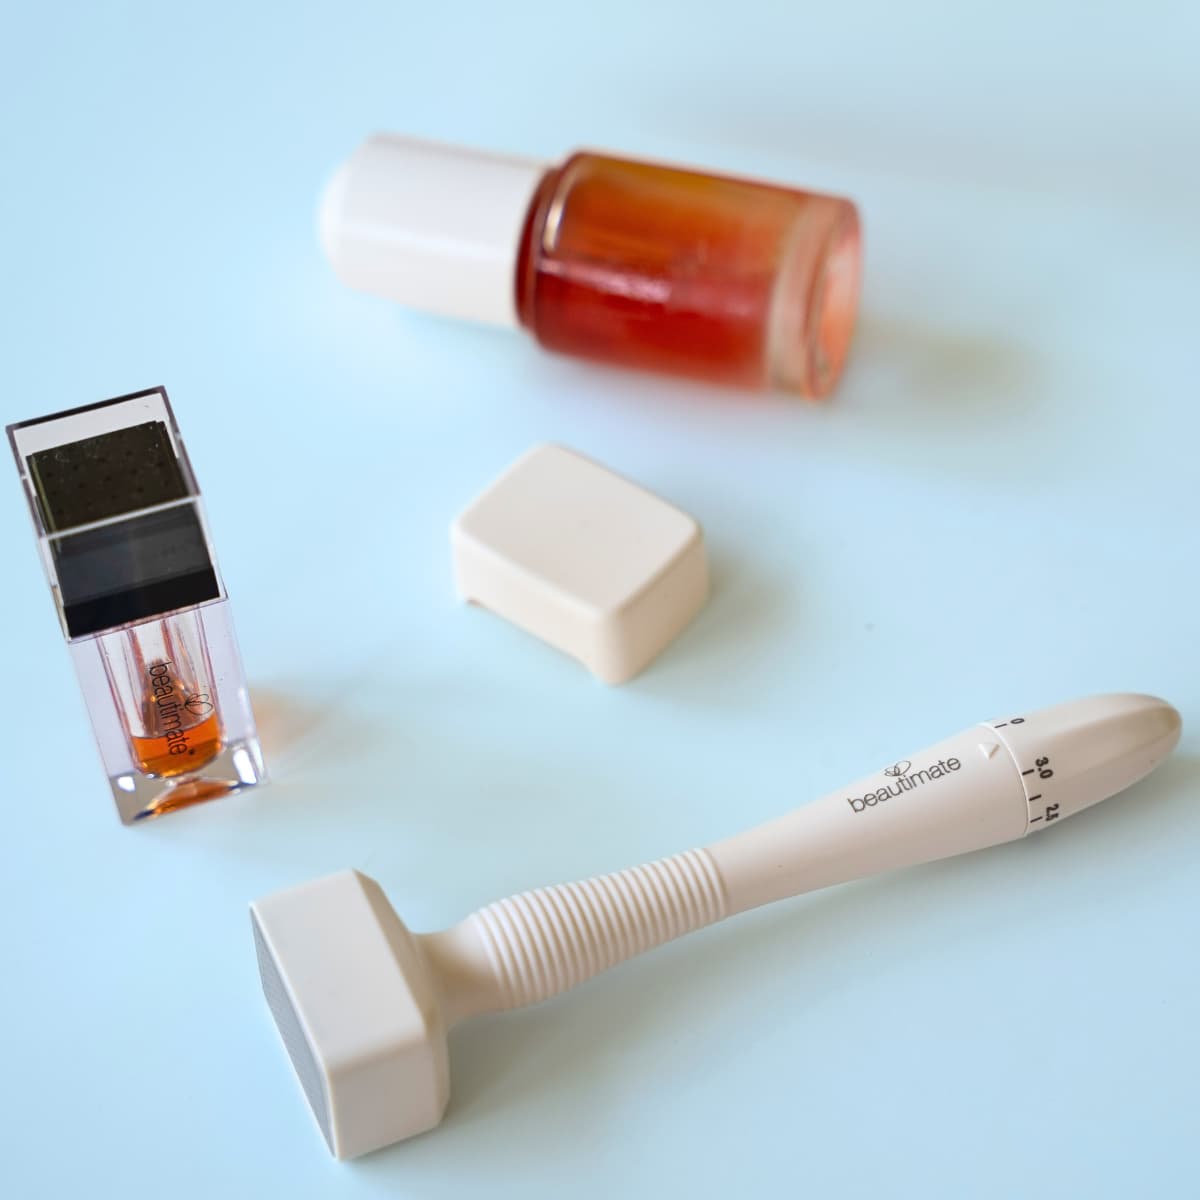
Microneedling guide How to choose the right derma stamp needle depth If you’ve looked at derma stamps and felt unsure which size to actually pick, that’s the part of this whole topic that gets glossed over the most. People talk about microneedling at home like the depth is a minor detail, but it’s honestly the single biggest factor in whether you’ll see results or end up irritated. If you’re still getting oriented, our overview of what a derma stamp is covers the fundamentals before you dial in a depth. This guide walks through every depth — 0.25 mm, 0.5 mm, 1.0 mm and 1.5 mm — in plain English. I’ll cover what each one actually does in the skin, what it’s best used for, how often to do it, and how much recovery to expect. By the end you’ll know exactly which depth fits your goal and how to step up safely over time. If you want the bigger-picture intro to microneedling at home first, start with our derma stamp vs. derma roller guide. An adjustable derma stamp lets you change the depth based on your goal — instead of buying a separate tool for every concern. Quick starting point: If you’re newer to microneedling, the Adjustable Derma Stamp is the easiest way in because it covers the full range. Pair it with the HYAH Serum for hydration after, or grab the Derma Stamp + HYAH Serum bundle if you want both together. What needle depth actually does Microneedling works by creating tiny, controlled channels in the skin. Your body reads those channels as something to repair, and during that repair process it lays down new collagen and elastin. That’s the whole mechanism — and the depth is what decides which layer of skin you’re actually working on. Different concerns live in different layers, which is why the depth matters so much. Surface glow and serum absorption live near the top. Fine lines and shallow texture sit a little deeper. Scars and stretch marks live deeper still. Match the depth to where the concern actually lives, and the results follow. A good rule of thumb: deeper is not better. The right depth is the one that matches your goal. Going deeper than you need just adds downtime and risk without adding results. Depth at a glance Before diving into each size, here’s a quick reference so you can see all four depths side by side. Depth Best for Typical rhythm Recovery 0.25 mm Serum absorption, glow, daily skin prep Two to four times a week Almost none 0.5 mm Fine lines, surface texture, scalp / hair About weekly 12–24 hours of mild pinkness 1.0 mm Deeper acne scars, stretch marks, stubborn texture Every 3–4 weeks 2–3 days of redness 1.5 mm Stretch marks and body scars (not face) Every 4–6 weeks 3–5 days of redness, possible pinpoint bleeding 0.25 mm — the “nano” depth for glow and absorption At 0.25 mm, the needles barely pass the outermost dead-cell layer of skin. There isn’t much real wounding happening, so this depth isn’t doing the heavy lifting on collagen — but it is excellent at one specific thing. That outer layer is built to keep things out of your skin, including most of your serums. A 0.25 mm stamp creates short-lived micro-channels that let actives sink in much more effectively for the first hour or so after stamping. It’s the same logic behind nano-needling in spas. Who it’s for: beginners testing how their skin tolerates microneedling, days when you’re using a higher-value serum and want maximum absorption, or anyone who wants a glow without committing to any real downtime. What it won’t do: build collagen, fade real scars, regrow hair, or smooth fine lines. For any of those, you have to go deeper. 0.5 mm — the most-used depth for almost every goal If you only ever use one depth, this is the one. 0.5 mm reaches into the upper layer of the dermis just enough to trigger collagen production, while staying safe enough for weekly use at home. It’s the most versatile depth in the whole range and the one I’d recommend for the majority of people. It works for fine lines, mild texture, early aging, surface acne scars, and — importantly — for the scalp when the goal is hair growth. Fine lines and early aging on the face Mild surface texture and hyperpigmentation Shallow acne scars Scalp microneedling for hair growth Body skin where you don’t need to go deeper How often: about once a week. Give your skin at least 5–7 days between sessions so the collagen process can actually do its work. Stamping more often than that doesn’t speed results, it just keeps your skin in a low-level irritation loop. Recovery: usually 12–24 hours of mild pinkness, similar to a light sunburn. Most people can go out the next morning with no visible signs. For hair growth specifically: 0.5 mm on the scalp, once a week, is the depth used in nearly every published microneedling-for-hair-loss study. If hair is your goal, this is the depth. For hair growth, 0.5 mm on the scalp is the depth used in nearly every published microneedling-for-hair-loss study. Aftercare matters a lot at this depth. Within the first hour, use a clean, fragrance-free hydrator — a hyaluronic acid serum is the easiest fit. For the next 24–72 hours, skip retinol, vitamin C, AHAs, BHAs and fragrance. If you want the full aftercare breakdown, read our guide on what to use after microneedling. 1.0 mm — for deeper scars and body work At 1.0 mm, the needles reach into the deeper part of the dermis, where rolling and boxcar acne scars actually live. That’s why this is the depth most people associate with “real” scar work. The trade-off is recovery time and a stricter approach. You can’t do this weekly, and you can’t treat it like a casual session. Best for Typical rhythm What recovery looks like Rolling and shallow boxcar acne scars Every 3–4 weeks 2–3 days of noticeable redness, possible pinpoint dots Deeper hyperpigmentation Every 3–4 weeks Mild flaking on day 3–4 as the surface turns over Stretch marks on the body Every 3–4 weeks Tightness and warmth for the first day Honest note: 1.0 mm is not a beginner depth on the face. If you’ve never microneedled before, spend at least 4–8 weeks at 0.5 mm before stepping up. Jumping straight to 1.0 mm is the most common reason people end up with hyperpigmentation, broken capillaries, or scabbing they weren’t expecting. Aftercare: same principles as 0.5 mm, but stricter. No actives for a full 72 hours, no direct sun, and no heavy sweating for 24 hours. Daily sunscreen for the next two weeks is non-negotiable. 1.5 mm — body only, advanced users only 1.5 mm reaches the deeper dermis where stretch marks and long-standing body scars sit. Facial skin is usually too thin for this depth in an at-home setting, so I’d keep 1.5 mm reserved for body areas where the skin is genuinely thicker. Stretch marks on stomach, hips, thighs, or breasts Older scars on the body Thicker skin areas where 1.0 mm hasn’t been enough How often: every 4–6 weeks, no more frequent than that. Recovery is long enough that pushing the rhythm faster only sets you up for prolonged inflammation. Recovery: 3–5 days of redness and tenderness. Pinpoint bleeding during the session is normal at this depth. The treated skin tends to feel hot and tight for the first 24 hours. Why I say “advanced users only”: jumping to 1.5 mm without prior microneedling experience increases the odds of post-inflammatory hyperpigmentation, irregular healing, or just a rough recovery week. Build up to it with 4–8 weeks of consistent 1.0 mm body sessions first. If you want to ease into body work at a safer depth, the Body Derma Roller (0.5 mm) covers larger surface areas faster than a stamp and is a sensible starting point for stretch mark routines. Why an adjustable stamp solves the “which one do I buy” problem Most derma stamps on the market are sold at one fixed depth. So if you start with 0.5 mm and later want to work on a deeper scar, you’re buying a second stamp. If you also want to nano-stamp on lighter skincare days, that’s a third. Suddenly you own a drawer of single-purpose tools. The Adjustable Derma Stamp was built exactly to fix this. One tool, dial-selectable from 0.25 mm to 3.0 mm, so the depth can match the session’s goal — without buying anything else. If you plan on microneedling long-term, an adjustable model usually pays for itself in the second or third stamp you don’t end up buying. A beginner-safe ramp-up If you’re new to derma stamping, the safest way to build up is gradual. This is the schedule I’d recommend. Weeks 1–4: 0.25 mm, two times a week. Build tolerance and learn the technique. Weeks 5–12: 0.5 mm, once a week. Now you’re in collagen-building territory. Keep aftercare clean — no retinol or acids for 48 hours after each session. Month 4+: 1.0 mm every 3–4 weeks, only if you have specific deeper scarring you want to target. Keep doing 0.5 mm weekly in between if you want. 1.5 mm: body only, and only after 8+ weeks of consistent 1.0 mm body sessions. The most common new-microneedler mistake is buying a 1.5 mm stamp first because “deeper sounds better.” It almost never is. Patience at the lower depths produces better long-term results than aggression at the higher ones. What to use right after stamping The first 24 hours after stamping is what gets called the “open window” — your skin is more permeable than usual. That’s an opportunity, but it’s also a risk if you reach for the wrong product. Apply right after Avoid for 24–72 hours Hyaluronic acid (calms, hydrates) Retinol and retinoids Peptide serums Vitamin C, especially L-ascorbic acid Centella or cica (anti-inflammatory) AHAs and BHAs Clean, fragrance-free moisturizer Fragrance, essential oils, brand-new actives Aftercare doesn’t need to be complicated. A calm, hydrating serum is usually the smartest move at any depth. For the full layering routine — including what order to use things in the days after — read our guide on what to apply after microneedling. FAQ Can I use a 1.5 mm derma stamp on my face? I wouldn’t recommend it. Facial skin is thinner than body skin, and 1.5 mm at home is the depth most associated with hyperpigmentation and prolonged downtime. Stay at 1.0 mm or below on the face. For deeper facial scarring, in-office RF microneedling is a better path than going deeper at home. Does deeper mean better? No, it just means different. The right depth is the one that matches the layer of skin where your concern actually lives. Going deeper than you need adds downtime and risk without adding results. Which depth is best for hair growth? 0.5 mm on the scalp, about once a week. That’s the depth used in nearly every published microneedling-for-hair-loss study. If you want the full hair protocol, see our derma stamp vs. derma roller guide. How long until I see results at each depth? 0.25 mm gives a same-day glow but no structural change. 0.5 mm tends to show texture and fine-line improvement around 4–6 weeks, with fuller results at 3 months. 1.0 mm scar improvement is usually visible around 6–8 weeks and continues for 4–6 months. 1.5 mm stretch mark work tends to show change at 8–12 weeks. Do I need to numb my skin? At 0.25 mm and 0.5 mm, almost never. At 1.0 mm, some people use a topical numbing cream — apply, wait 20 minutes, wipe off fully before stamping. For 1.5 mm on body, numbing is reasonable. Can one stamp handle multiple depths? Only if it’s adjustable. Fixed-depth stamps are single-depth tools. The Adjustable Derma Stamp covers 0.25 mm to 3.0 mm on a dial precisely so you can change the depth to fit the session’s goal. The short version If you’re picking your first depth, the answer for most people is 0.5 mm. It’s the most studied, most versatile, and safest weekly depth for face, scalp and most body areas. Step up to 1.0 mm only for specific deeper concerns, and only after you’ve built tolerance. If you want one tool that can grow with you from beginner nano-stamping all the way through deeper scar work, an adjustable stamp removes the entire “which one do I buy” problem. Once you’ve picked your depth, the next step is technique — for that, read our complete derma stamp tutorial.
Learn more
How to Use a Derma Stamp (Complete 2026 Tutorial)
How to use a derma stamp at home without wrecking your barrier. In this step‑by‑step guide, I walk you through prep, depth selection, pressure, pattern, and aftercare so you can get real results with less irritation.
Learn more
What Does an LED Light Therapy Mask Do for Your Skin?
A gentle, science-backed way to support collagen, calm irritation, and bring back your glow — all in just 15 minutes a day.
Learn more
Rosemary Oil and Microneedling for Hair Growth | Beautimate
Discover how to naturally regrow thinning hair using rosemary oil and microneedling. This step-by-step guide explains how the two work together to boost hair growth, improve scalp health, and reduce hair loss — all from home, without harsh chemicals.
Learn more
LED Light Therapy & Hyaluronic Acid: The Ultimate Hydration Duo
Discover how pairing LED light therapy with hyaluronic acid delivers deep hydration, plumper skin, and lasting glow. See science, expert tips, and a step-by-step guide.
Learn more